
This is the last in a three-part series of posts on deploying a Docker application to AWS Elastic Beanstalk with AWS CodeSuite. The Docker application in question is this blog, a WordPress application backed by a MySQL database.
In my last post I discussed the specifics of the build process for this blog. Essentially the build process involves (1) pushing the Docker images for the blog to ECR and (2) pushing the EB source bundle for the blog to S3.
In this post I’ll discuss how I set up the deployment process for the blog. The deployment process will pull the EB source bundle from S3 and deploy it to EB. EB will then use the content of the source bundle as the configuration for the deployment. Specifically it will use the docker-compose.yml file in the source bundle to pull down the Docker images for the blog.
Setting up the deployment process involved the following main steps:
- Creating a deployment pipeline (via CodePipeline)
- Customizing the pipeline’s service role (via IAM)
I performed these steps via the AWS Console.
Creating a deployment pipeline
To create the deployment pipeline I went to CodePipeline and created a new pipeline via Pipelines > Create new pipeline. I then completed the steps of the wizard as follows:
Step 1: Choose creation option
- Category: Build custom pipeline
Step 2: Choose pipeline settings
- Pipeline settings
- Pipeline name: <PIPELINE_NAME>
(The pipeline’s IAM role and S3 bucket are created automatically if you don’t specify them.)
Step 3: Add source stage
- Source
- Source provider: Amazon S3
- Bucket: <BUCKET>
- S3 object key: <S3_OBJECT_KEY>
<BUCKET> refers to the S3 bucket in which the EB source bundle is stored. <S3_OBJECT_KEY> refers to the S3 object key of the source bundle.
Step 4: Add build stage
I skipped this stage.
Step 5: Add test stage
I skipped this stage.
Step 6: Add deploy stage
- Deploy
- Deploy provider: AWS Elastic Beanstalk
- Application name: <APPLICATION_NAME>
- Environment name: <ENVIRONMENT_NAME>
<APPLICATION_NAME> refers to the EB application name; <ENVIRONMENT_NAME> refers to the EB environment name.
Step 7: Review
- Create pipeline
Creating the pipeline triggered an initial execution. This execution failed at the deploy stage due to insufficient permissions on the pipeline’s service role.

In the next section I’ll discuss how I customized the pipeline’s service role to meet the needs of the deploy stage.
Customizing the pipeline’s service role
To customize the pipeline’s service role to meet the needs of the deploy stage I attached the following inline policy to the role:
{
    "Version": "2012-10-17",
    "Statement": [
        {
            "Sid": "EBActionStatement",
            "Effect": "Allow",
            "Action": [
                "autoscaling:*",
                "cloudformation:*",
                "ec2:*",
                "ecr:*",
                "elasticloadbalancing:*",
                "elasticbeanstalk:*",
                "logs:*",
                "s3:*"
            ],
            "Resource": "*"
        },
        {
            "Sid": "IAMActionStatement",
            "Effect": "Allow",
            "Action": "iam:PassRole",
            "Resource": "arn:aws:iam::<AWS_ACCOUNT_ID>:role/aws-elasticbeanstalk-*"
        }
    ]
}
The inline policy has two statements: EBActionStatement and IAMActionStatement. EBActionStatement enables the service role to perform actions against services related to the deployment, e.g., EB, EC2, S3, etc. IAMActionStatement assigns a role (via iam:PassRole) to those actions in EBActionStatement that require a role to be assigned at time of execution, e.g., launching an EC2 instance.
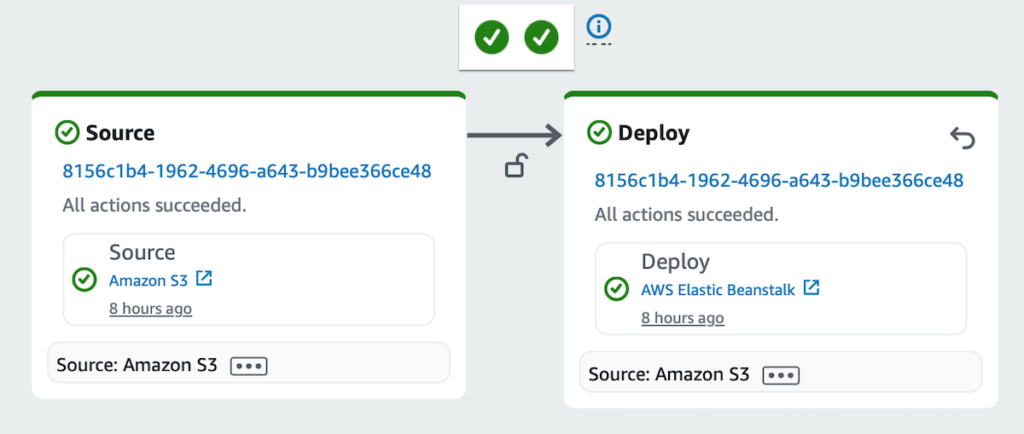
After attaching the inline policy to the service role, I re-ran the deploy stage of the pipeline, which this time succeeded.
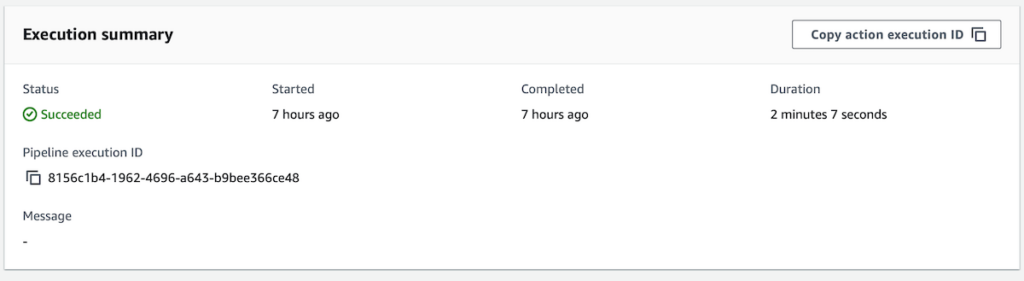
The overall execution was also shown to be successful.
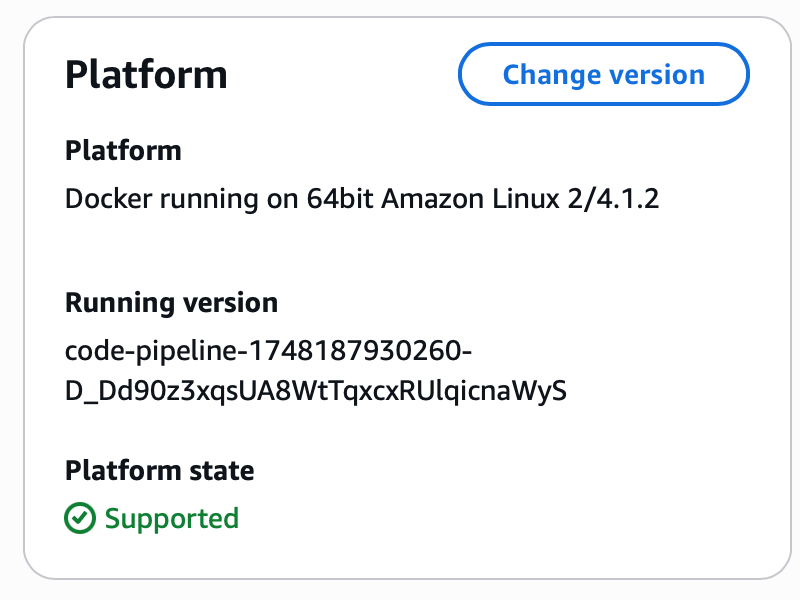
EB also showed that the code had been deployed to the environment via CodePipeline:
Conclusion
In this post I discussed how I set up the deployment pipeline for this blog using CodePipeline. Specifically I discussed how I created a two-stage pipelinethat pulls an EB source bundle from S3 and deploys it to EB. I also discussed how I customized the pipeline’s IAM service role to meet the needs of the deploy stage. This concludes this series of posts on deploying a Docker application to AWS Elastic Beanstalk with AWS CodeSuite.